Tuesday, December 10, 2013

advent calendar.


These wooden ornaments were hand-me-downs from Eric's parents.

I love how cute they are, 
and I really wanted to use them in our Christmas decor.

I combined them with star hooks from my mom,
clear plastic wall hangers, and slips of red paper.

See the wall that separates our living room from our little kitchen?

Well, now it showcases our advent calendar.

Each slip of paper has an activity for us to accomplish
so we enjoy Christmas every day of December.

So far we have done things like read Luke 2, drink hot chocolate,
write each other Christmas notes, hang mistletoe, 
and decorate these adorable mini gingerbread houses together.

We stayed up until midnight working on them.
It was awesome.


Sunday, September 1, 2013

front & back.

I bought this fabric from a local thrift shop.
It's the high quality $40/yd upholstery fabric you'd find at Joann's.
Mine cost $4.

In addition to the great price,
I recognized that both the front and back color scheme 
worked in with rooms I had.

I used the front of the fabric to reupholster this stubby stool.

I got it for $1 at a yard sale.

While disassembling it, 
I tried my best to save the decorative tacks,
but many of them were too old, worn, and rusted to keep.
The rest I put in a box to work some magic with later.

Here's how it turned out!

It works perfectly with the colors in the 
living room, dining room, and kitchen.
I left the legs as they were because I like the layers of chipping paint:
brown to black to white to wood.
I also like the contrast of the new fabric with old paint.

I used the back of the fabric on this next interesting project.
Remember the stencils I made for the guest room floor?
Well, I saved the inner portion of one of them.
I started out by gluing fluff onto the stencil.

Then, I put wrong sides together.
(I had just enough fabric)

 And, I basically upholstered the stuffed stencil.
I couldn't use a staple gun on this, so I hot glued every little section.

There were several fraying portions that needed attention,
so I brushed over all of them with Mod Podge 
and that seemed to seal them. 

Here's the finished product.

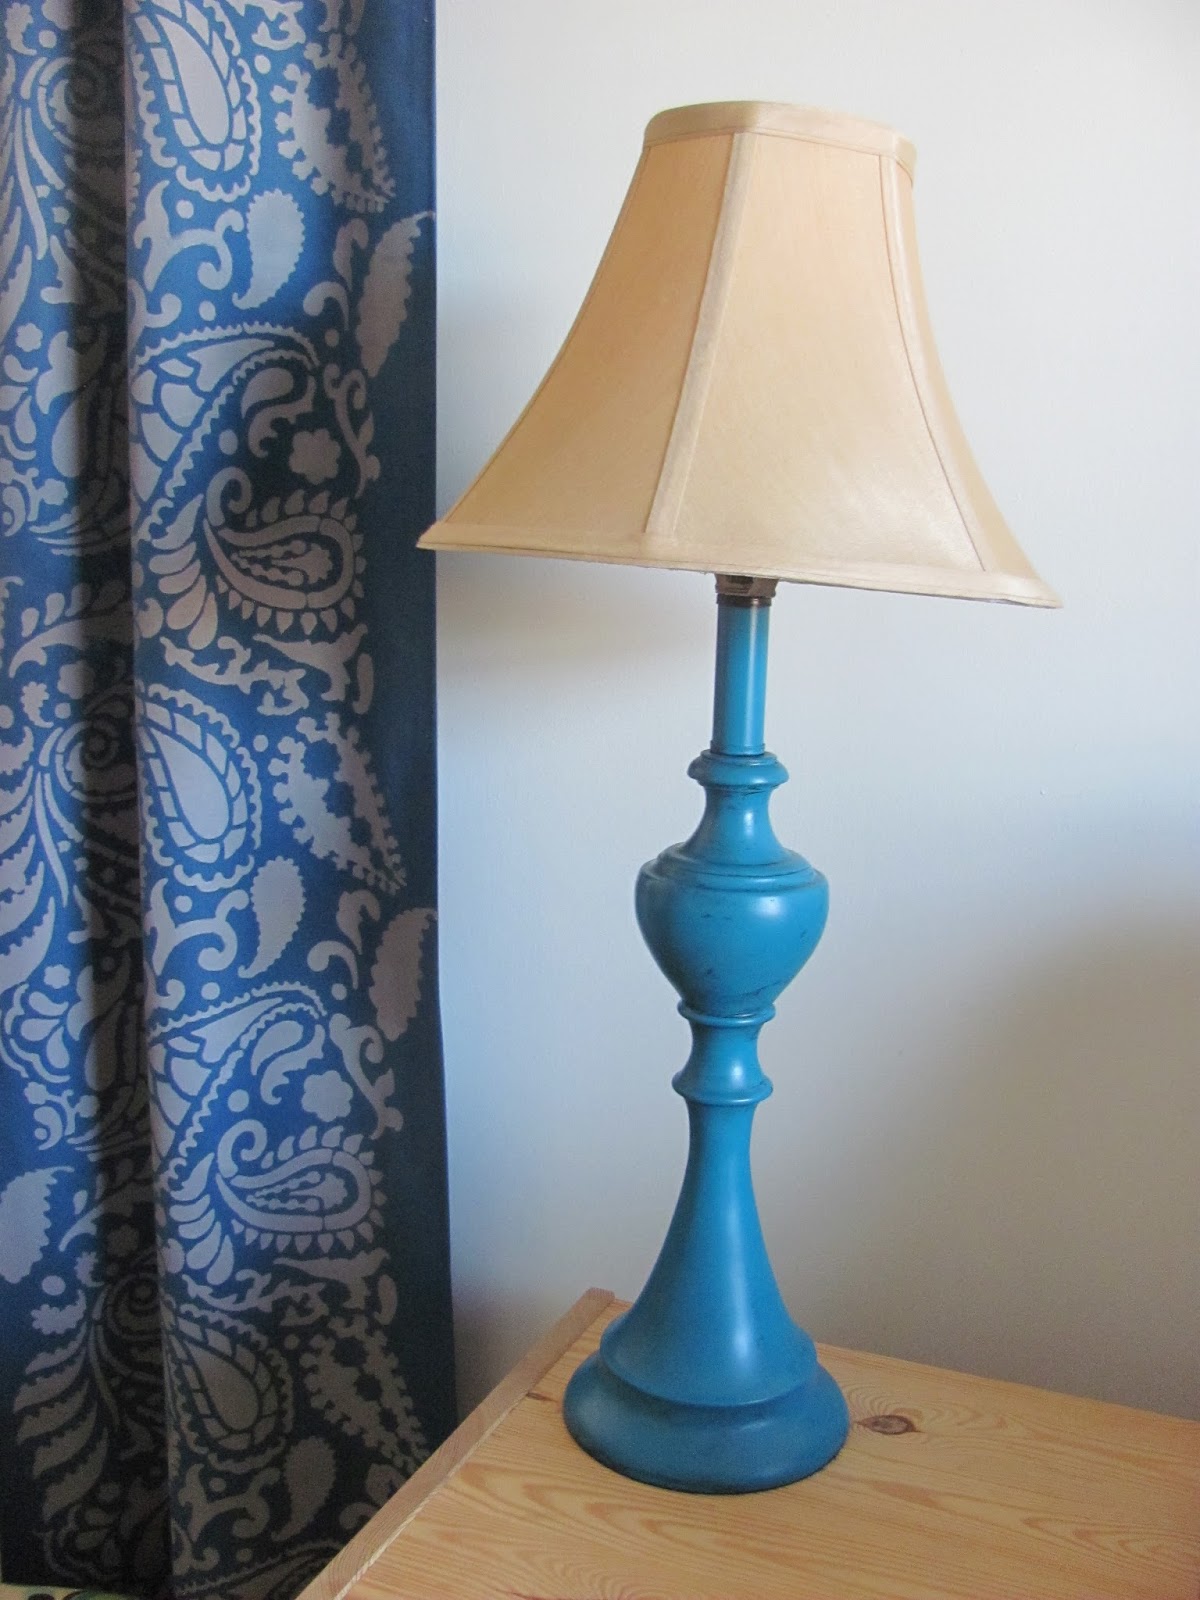
These are some of the items I've gathered for our Master Bedroom:
pillow from a thrift store - $1
lamp shade from a discount store - $6
turtle shell on major clearance from Target - $12
vase from a friend - $0
first aid cabinet from a yard sale - $1
It'll be a while until this room really gets worked on, 
but it's a start.

As you can see, the back of the fabric incorporates all the colors.
I'm not exactly sure how I'll use the upholstered stencil,
(wall hanging, part of a headboard detail, I dunno)
but it'll be a cool addition to the room wherever it ends up.


Wednesday, August 21, 2013

sun dress.

I had this little sun dress sitting in a box of keepsakes.
I wore it when I was a little girl.
My awesome mom made it.

Evidence of toddler play remained in a few spots,
so I gently hand washed it.

I thought I remembered a picture of me wearing it,  
so to my trusty Baby Book I went.

I found one!
In order to display this duo as I wanted,
I sprayed this old, cheap-o frame white.

I didn't have any white spray paint on hand, 
but I did have spray primer.  
That's how it remains.
Is that bad?

Anyway, apparently I wore the dress on my 3rd birthday!
My awesome mom also made that great Cookie Monster cake.

I also spray painted spray primed two clothes pins,
nailed them to the wall, 
and pinched the dress loops into them.

I guess the office wasn't totally complete after all.


Wednesday, August 14, 2013

glazing.

I learned how!

I bought this lamp at a yard sale.

I tried to color match the curtains, but it didn't pan out all that well.
(the actual color is much lighter in person)

I thought glazing it black would darken it, 
so I watched a bunch of online tutorials to learn how.
It's super easy.

The glazing bug bit me, 
so I tried brown glaze on this chair:

before brown glaze

after brown glaze

Then I tried gray glaze on this lamp:

before gray glaze

after gray glaze

It's a pretty cool finishing technique.

Friday, August 9, 2013

painted panels.

Our workout room didn't have much to say for itself:
Boring.

Pretty disorganized.

 Zero character.

Since I choose to keep the walls white,
I thought dark curtains might be nice.

I couldn't find a graphic fabric I loved,
so I just bought a bunch of this teal
and made 4 panels out of it.


I purchased a stencil several months ago on a whim,
and thought it would be interesting to try it out on this project.
So, I painted the panels!

With a little rearranging, a yard sale end table, and some curtain lovin'
 this room is much more put together.


I am a fan of paisley.


Friday, June 28, 2013

updated fan.

The guest room had this dated fan 
that made me cringe every time I walked in the room.

I disassembled it, including taking the gold parts off the blades,
which left me with this stuff still attached.

I wanted the gold gone, so I wrapped everything all up nicely,

and sprayed it black.

I also sprayed the gold attachments to the blades before reassembling.
Home Depot had a decent globe that helped too.

Makes a huge difference!